Today I will take you on an adventure on the making of a Black Walnut Flute.
This Flute is tuned to the Key of F#, and has a One Inch bore.
To get a more detailed view , click on any photograph to enlarge.
 I start out with a 2 inch square piece of Black Walnut that is 24 inches long.
 The next step is to split that 2 inch square in two..done with a saw.
 The next step you can see in the illustration drawing, is the routing out of the Slow Air Chamber and the Sound Chamber, this is the bottom half of the flute.
 The next step is the routing out of the top part of the flute and cutting the Air Exit and Entrance holes as the drawing shows.
The flute is then glued back together tightly and then shaped and a finish put on it after drilling the fingering holes and tuning.
 This is the finished flute with the Block (howling Wolf Head) on it, to channel the Air from the Slow Air Chamber, over the Sound hole leading into the sound chamber.
Also shown is the fingering holes that are drilled in and tuning the flute by the placement and size of each fingering hole.( a process that takes alot of experience, and practice to do).
 I next cut 4 pieces of Iridescent Mother of Pearl in a diamond shape and inlaid them into the Walnut wood, sanded down flush with the wood and polished.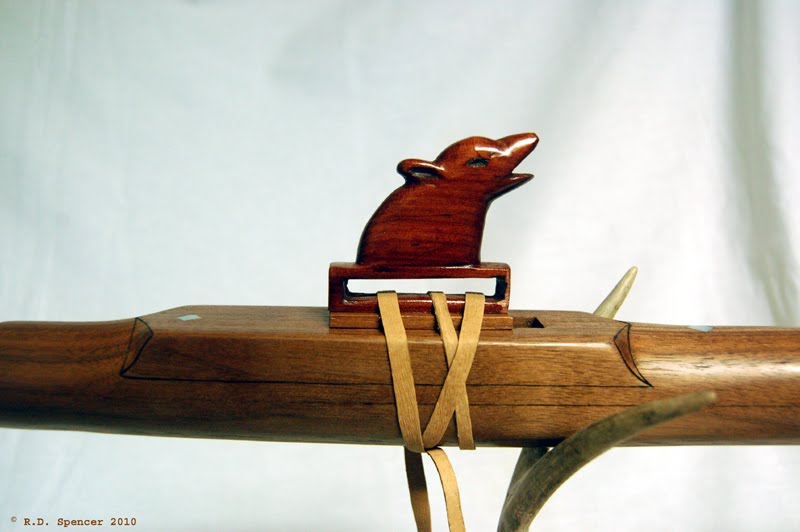
A close up look at the Block( Wolf Head) carved from Aromatic Red Cedar, mounted on a block of Black Walnut.
I know I didn't give you all the details of constructing the flute, there are just too many , and practice, practice, makes one become better at it.


